The reassuring answer
Check the soil beneath the turf—not just the grass
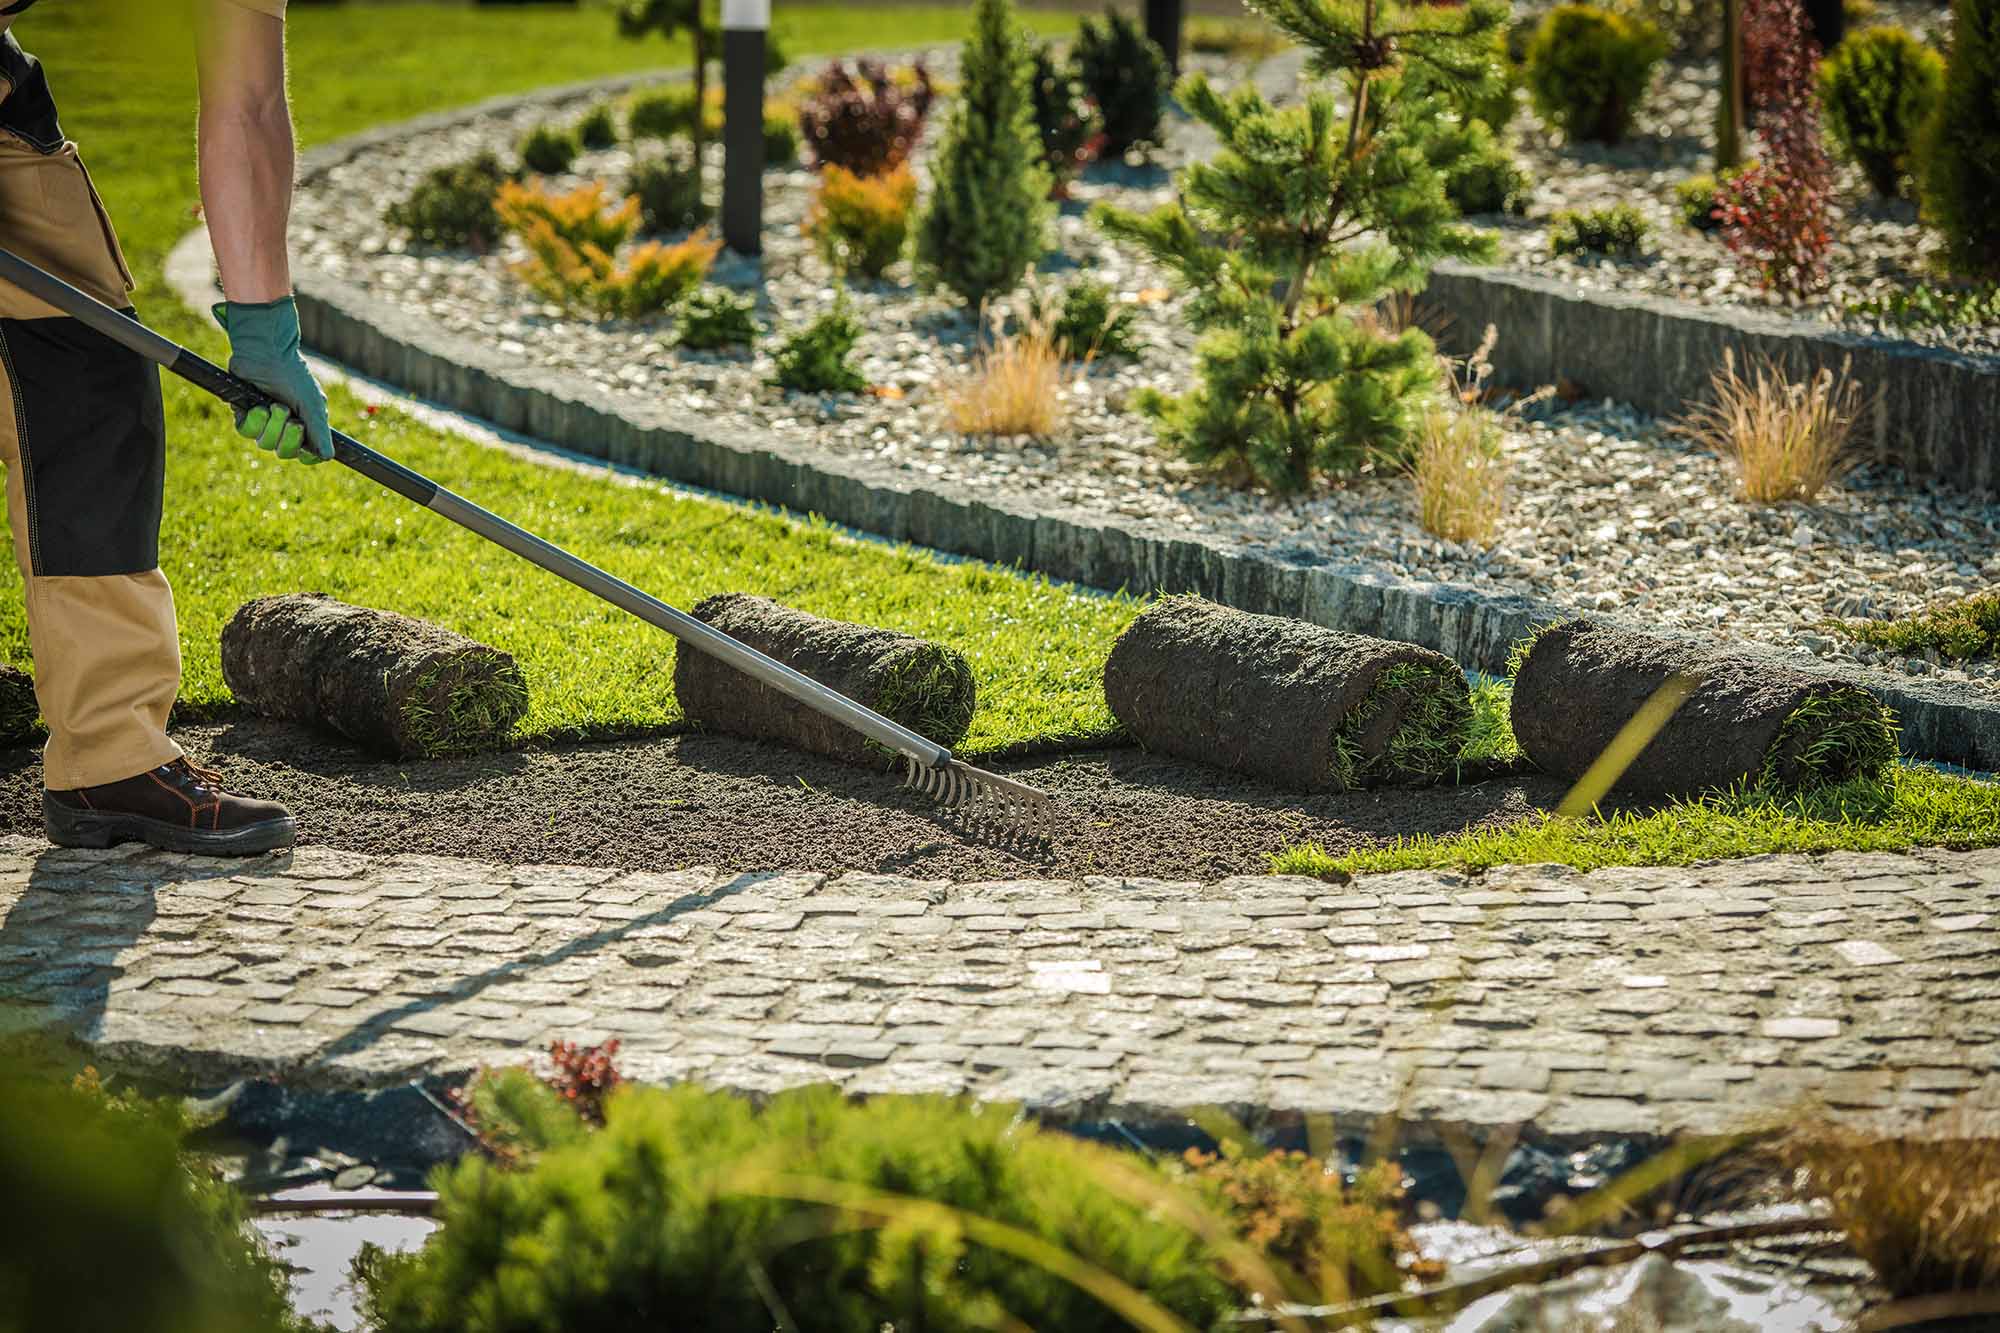
A green surface can still hide dry soil below. During the establishment period, gently lift a corner in several parts of the lawn and check that both the underside of the roll and the prepared soil feel consistently moist. The turf should not be floating in standing water or sitting on dry, dusty ground.
Step 01
Water immediately after laying
Begin watering as soon as an area has been laid rather than waiting until the whole project is finished. Fresh turf can lose moisture quickly, particularly in warm, sunny or windy conditions.
- Soak the turf thoroughly so water passes through the roll and moistens the prepared soil beneath.
- On a multi-day installation, water every completed section before leaving it overnight.
- Use a sprinkler or a hose with a gentle spray setting to avoid disturbing joints or washing soil away.
- Move the sprinkler methodically and overlap its coverage so narrow strips are not missed.
Step 02
Monitor moisture every day
There is no single watering duration suitable for every lawn. Temperature, wind, rainfall, soil type, shade and sprinkler output all affect how quickly moisture is lost, so inspect the turf rather than relying only on a timer.
- During the first week, check the lawn at least morning and evening and water whenever the underside begins to dry.
- Hot, bright or windy days may require more than one watering; cool or wet weather may require considerably less.
- Lift corners in several locations, including the centre, edges and the warmest part of the garden.
- Do not assume that rainfall has been sufficient—check how far the moisture has penetrated.
Step 03
Recognise dry and over-wet turf
Responding early is much easier than repairing turf after it has dried severely or remained waterlogged. Check the whole lawn because coverage and drainage can vary over a short distance.
- Dry turf may become dull, blue-green, pale or straw coloured, with curling leaves, lifting edges or widening joints.
- Edges beside paving, walls and borders often dry faster and may need additional targeted watering.
- Over-wet areas may remain puddled, feel excessively soft or develop yellowing where air is excluded from the soil.
- If water stands for long periods, pause irrigation in that area and investigate levels, compaction and drainage.
Step 04
Adjust as the roots establish
As the turf roots into the soil it becomes better able to find moisture for itself. Gradually change from frequent establishment watering to deeper, less frequent watering that encourages roots to grow downwards.
- After roughly 10–14 days, gently test a corner. Resistance usually indicates that roots are beginning to anchor.
- Reduce watering gradually rather than stopping abruptly, continuing to respond to rainfall and drying weather.
- Once established, water deeply during prolonged dry periods instead of applying frequent light sprinkles.
- Avoid heavy foot traffic while the ground is wet and the new root system is still developing.
Need a second opinion?
Talk to our turf team
Weather, soil and site conditions can all affect aftercare. If you are unsure, call us before making a treatment or watering decision.
Call 01902 784866